| Rating: |
|
5 Ratings |
| Your rating: |
|
Sign in to rate
|
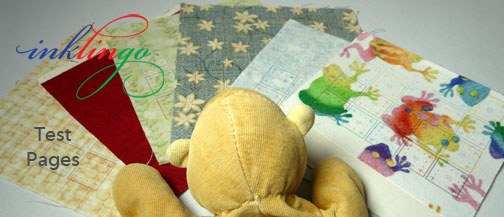
How to Test Ink on Fabric
HOW TO TEST INKJET INK ON FABRIC
Okay, testing ink is not quite as important as breaking the Enigma Code, but it is important because it makes quilting more fun and more accessible for everyone!
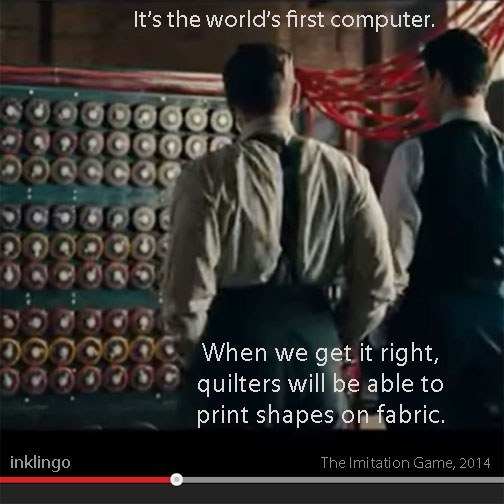
When I first got the idea for Inklingo--printing quilting shapes on fabric--I was thrilled with the possibilities.
I was not alone. At Quilt Market in 2006, I was hugged by a shop owner who said,
"This reminds me of the first time I saw a rotary cutter."
Printing on fabric! What a wonderful way to
make quilting more accessible! AND it benefits everyone---beginners, experts, teachers, designers, shops, fabric manufacturers, magazines, publishers---everyone associated with the quilting industry. (
Patent 7,814,832)
I could see how wonderful printing on fabric would be for
machine piecing,
hand piecing and appliqué---if we could use our printers instead of measuring or using templates. Wow.
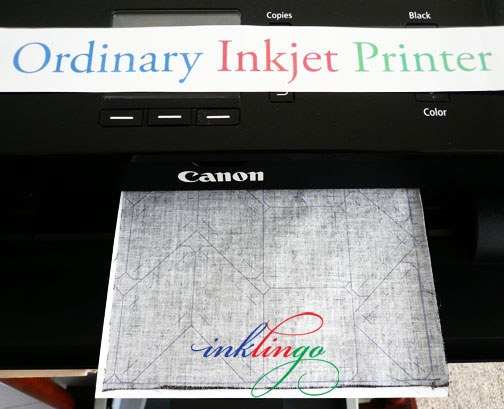 LET'S USE ANY ORDINARY INKJET!
From the beginning, I decided that the best answer would allow quilters to use the Inkjet printers and the ink they already have.
That is why
you do not have to buy a special printer or special ink to use Inklingo--because Inklingo was invented by a quilter like you, not an equipment manufacturer or a non-quilter.
You already have everything you need to print shapes on fabric--as long as you know how to print a Test Page!
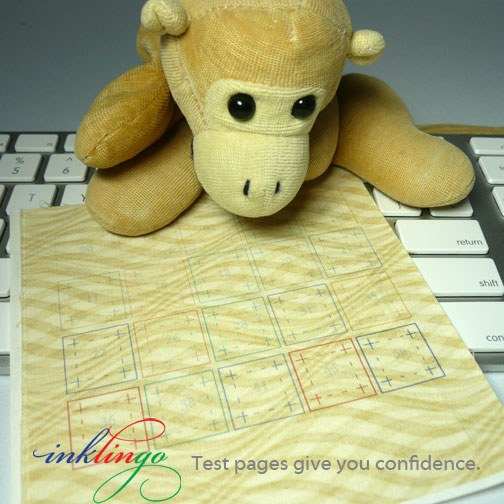 HOW TO TEST INKJET INK ON FABRIC
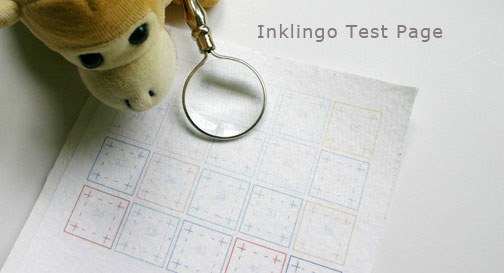
Inklingo makes it easy. Page 1 of every shape collection shows squares of every color that Inklingo uses.
HOW TO TEST INKJET INK ON FABRIC
Inklingo makes it easy. Page 1 of every shape collection shows squares of every color that Inklingo uses.
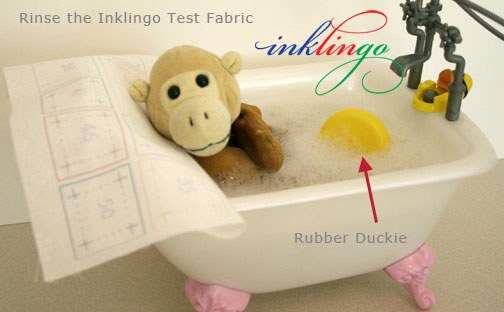
Print page 1 on a 5 x 5 inch scrap of fabric and wash or rinse it in the sink.
That's the test! Simple, but very important!
WHAT DOES THE TEST DO?
1. It shows how well the 20 Inklingo colors wash out when printed with your particular ink cartridges.
2. It shows which of the 20 choices show well on a particular fabric. There may be several which are good.
With experience, you will become good at guessing #2, but you must not guess about # 1. IMPORTANT Test every time you insert a new cartridge just in case the formula has changed.
 Each test only requires a 5 x 5 scrap of fabric and you can wash or rinse your test fabric and use it in the quilt. (Any time you print the wrong color, you can wash the fabric and print it again.)
All Inklingo colors should wash out easily immediately after they are printed, before pressing. Heat tends to set Inkjet ink so it is harder to wash out after a quilt block has been pressed. That is why we press our tests.
Each test only requires a 5 x 5 scrap of fabric and you can wash or rinse your test fabric and use it in the quilt. (Any time you print the wrong color, you can wash the fabric and print it again.)
All Inklingo colors should wash out easily immediately after they are printed, before pressing. Heat tends to set Inkjet ink so it is harder to wash out after a quilt block has been pressed. That is why we press our tests.
It is worth a few minutes to test the ink in your printer because printing the shapes on fabric with Inklingo saves so much time and makes quilting so easy and precise.
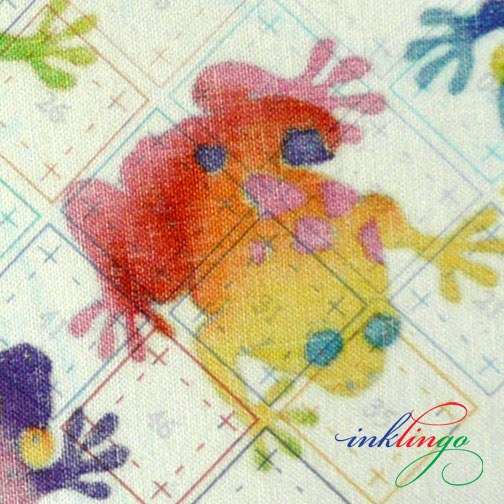
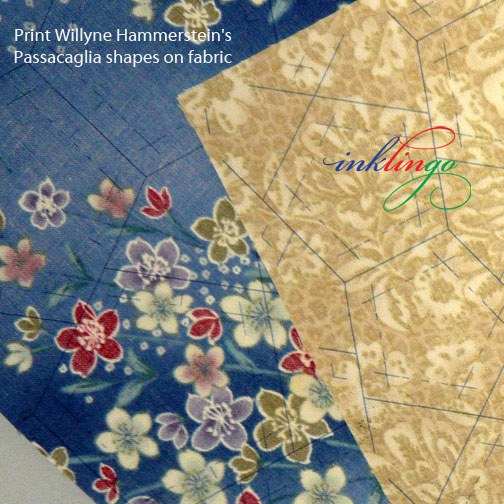
It might be pentagons for
Willyne Hammerstein's Passacaglia quilt (above), or any of the hundreds of shapes available from Inklingo now.
 TEST # 1 – WHEN YOU USE AN INK CARTRIDGE FOR THE FIRST TIME
Print this test on light fabric so you can see whether all of the ink washes out completely or not.
Press and rinse the fabric in the sink with warm soapy water. More ink will disappear/fade if you wash by machine. Cold running water sometimes works too, so if warm water doesn’t work, Monkey recommends a cold shower. (See Monkey in the shower, page H34 of the
free shape collection.)
 BEST TEST RESULT
We love it when all of the ink washes out completely:
1. You will feel confident using Inklingo colors with higher numbers.
2. You can wash and re-use the test fabric.
3. You can wash and re-print fabric printed by mistake.
The lines I can see for cutting and sewing are sometimes too light and fine to show well in photos, so I often use the Inklingo colors with the higher numbers. It is only safe because I have done Test # 1 and I know which colors will wash out even after
pressing.
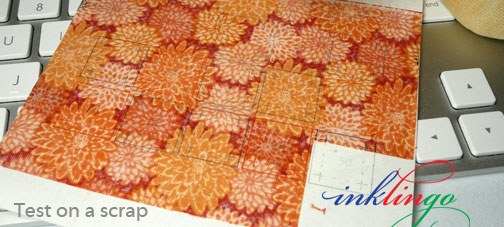 NOT ENOUGH FABRIC FOR TEST # 2?
Don’t despair! If you have done Test # 1 and know how well your ink washes out but can’t spare a 5 x 5 inch scrap for Test # 2, we have some suggestions!
1. Use what you have. Iron whatever scrap you have on a 5 x 5 piece of FP to print the most likely row or rows of ink colors (above).
2. Print the test page on one of the sheets you intend to use for shapes. After the test (no pressing), rinse the fabric, let it dry, iron it, and re-print with the shapes.
3. Guess. You will get good at guessing, but if the ink color is not suitable because the lines shadow through on the front or because you cannot see the lines well enough, wash the fabric and re-print with your second guess.
4. Test a fabric of similar color and weight.
IF THE INK DOES NOT WASH OUT COMPLETELY you can still use it for Inklingo--but only the colors that do not bleed or shadow through to the front.
 SHORT OF FREEZER PAPER?
I have several pieces of 5 x 5 FP handy for Test Pages. I use the same ones over and over and over again.
If you prefer, you can use one of the larger pieces of FP that you will be using for the shapes. Cut the fabric approximately 5 x 5 and position it on the larger sheet. (The first time you do this, you may want to print on scrap paper first, so you know exactly where to position the fabric.)
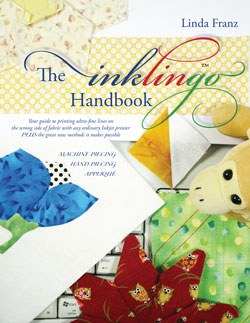
There are detailed, illustrated notes about both tests in the first chapter of
The Inklingo Handbook (pages 32-37, or pages H32-H37 of the
free shape collection for
Diamond/Triangles/Square).
Information about testing the ink and printing on fabric is so important that I included the first chapter of the handbook in the free shape collection. You can order and download the free shape collection in the next few minutes.
Printing on fabric with your ordinary Inkjet printer is not an enigma when you print these tests first!
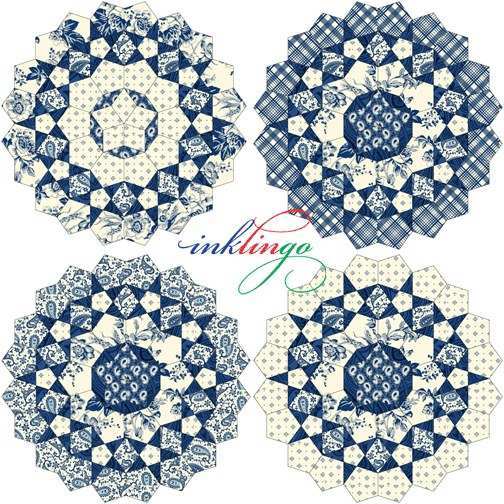
Right now we are all excited about printing pentagons and diamonds for
Willyne Hammerstein's Passacaglia, which is on the cover of her beautiful book,
Millefiori Quilts.
I share one or two images like these on Facebook every day, so please Like
Inklingo on Facebook and choose Get Notifications.
Check This Out!
Check out the most popular tool on QuiltingHub. Use the search 'Map Of Resources' or the 'Resources Trip Planner' to the right (or below).
Glossary
- Block
-
The basic unit of a quilt top, usually square but can be rectangular or other shapes. Blocks can be pieced, appliqued or plain.
- Hand Piecing
-
When you sew all of the patches in a quilt top together by hand, not using a sewing machine.
See Also: English Paper Piecing, Assembly Piecing, Machine Piecing, Chain Piecing, Paper Piecing, Piecing
- Machine Piecing
-
Sewing patches in a quilt block together using a sewing machine instead of sewing them together by hand.
See Also: English Paper Piecing, Assembly Piecing, Chain Piecing, Paper Piecing, Hand Piecing, Piecing
- Press
-
Method of using an iron to press seams and blocks. This means simply pressing downwards on the seam with the iron from above and not moving the iron back and forth which can distort the block or seam.
- Pressing
-
Picking a hot iron up off your fabric or quilt top and then putting it down in another place to remove the wrinkles. When you press your fabric, you do not slide the hot iron.
See Also: Ironing
- Rotary Cutter
-
A very sharp tool that looks like a pizza wheel which is capable of cutting through multiple layers of fabric.